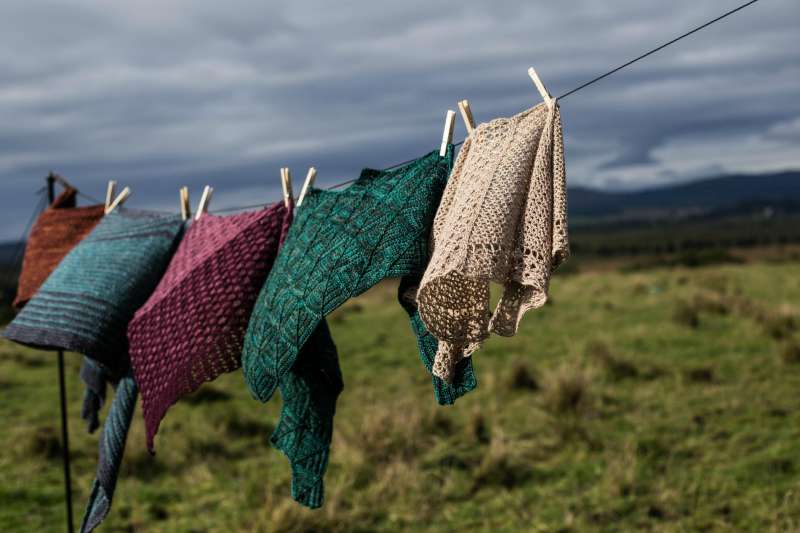
I'm often asked about how I come up with my designs, so I wanted to record the process of one design I worked on, from first winding the skein to pattern launch.
Because so much goes into a pattern creation I've broken it into manageable chunks. The first part of this process is taking the inkling of inspiration and turning it into a workable idea. How inspiration is tested and finessed before you start writing or making.

The Shepherds Purse Tee, was a pretty standard design for me in terms of process although I would say it was probably one of my quicker release schedules, mostly because I was sharing the progress as I went on instagram so felt under pressure to get it out there!
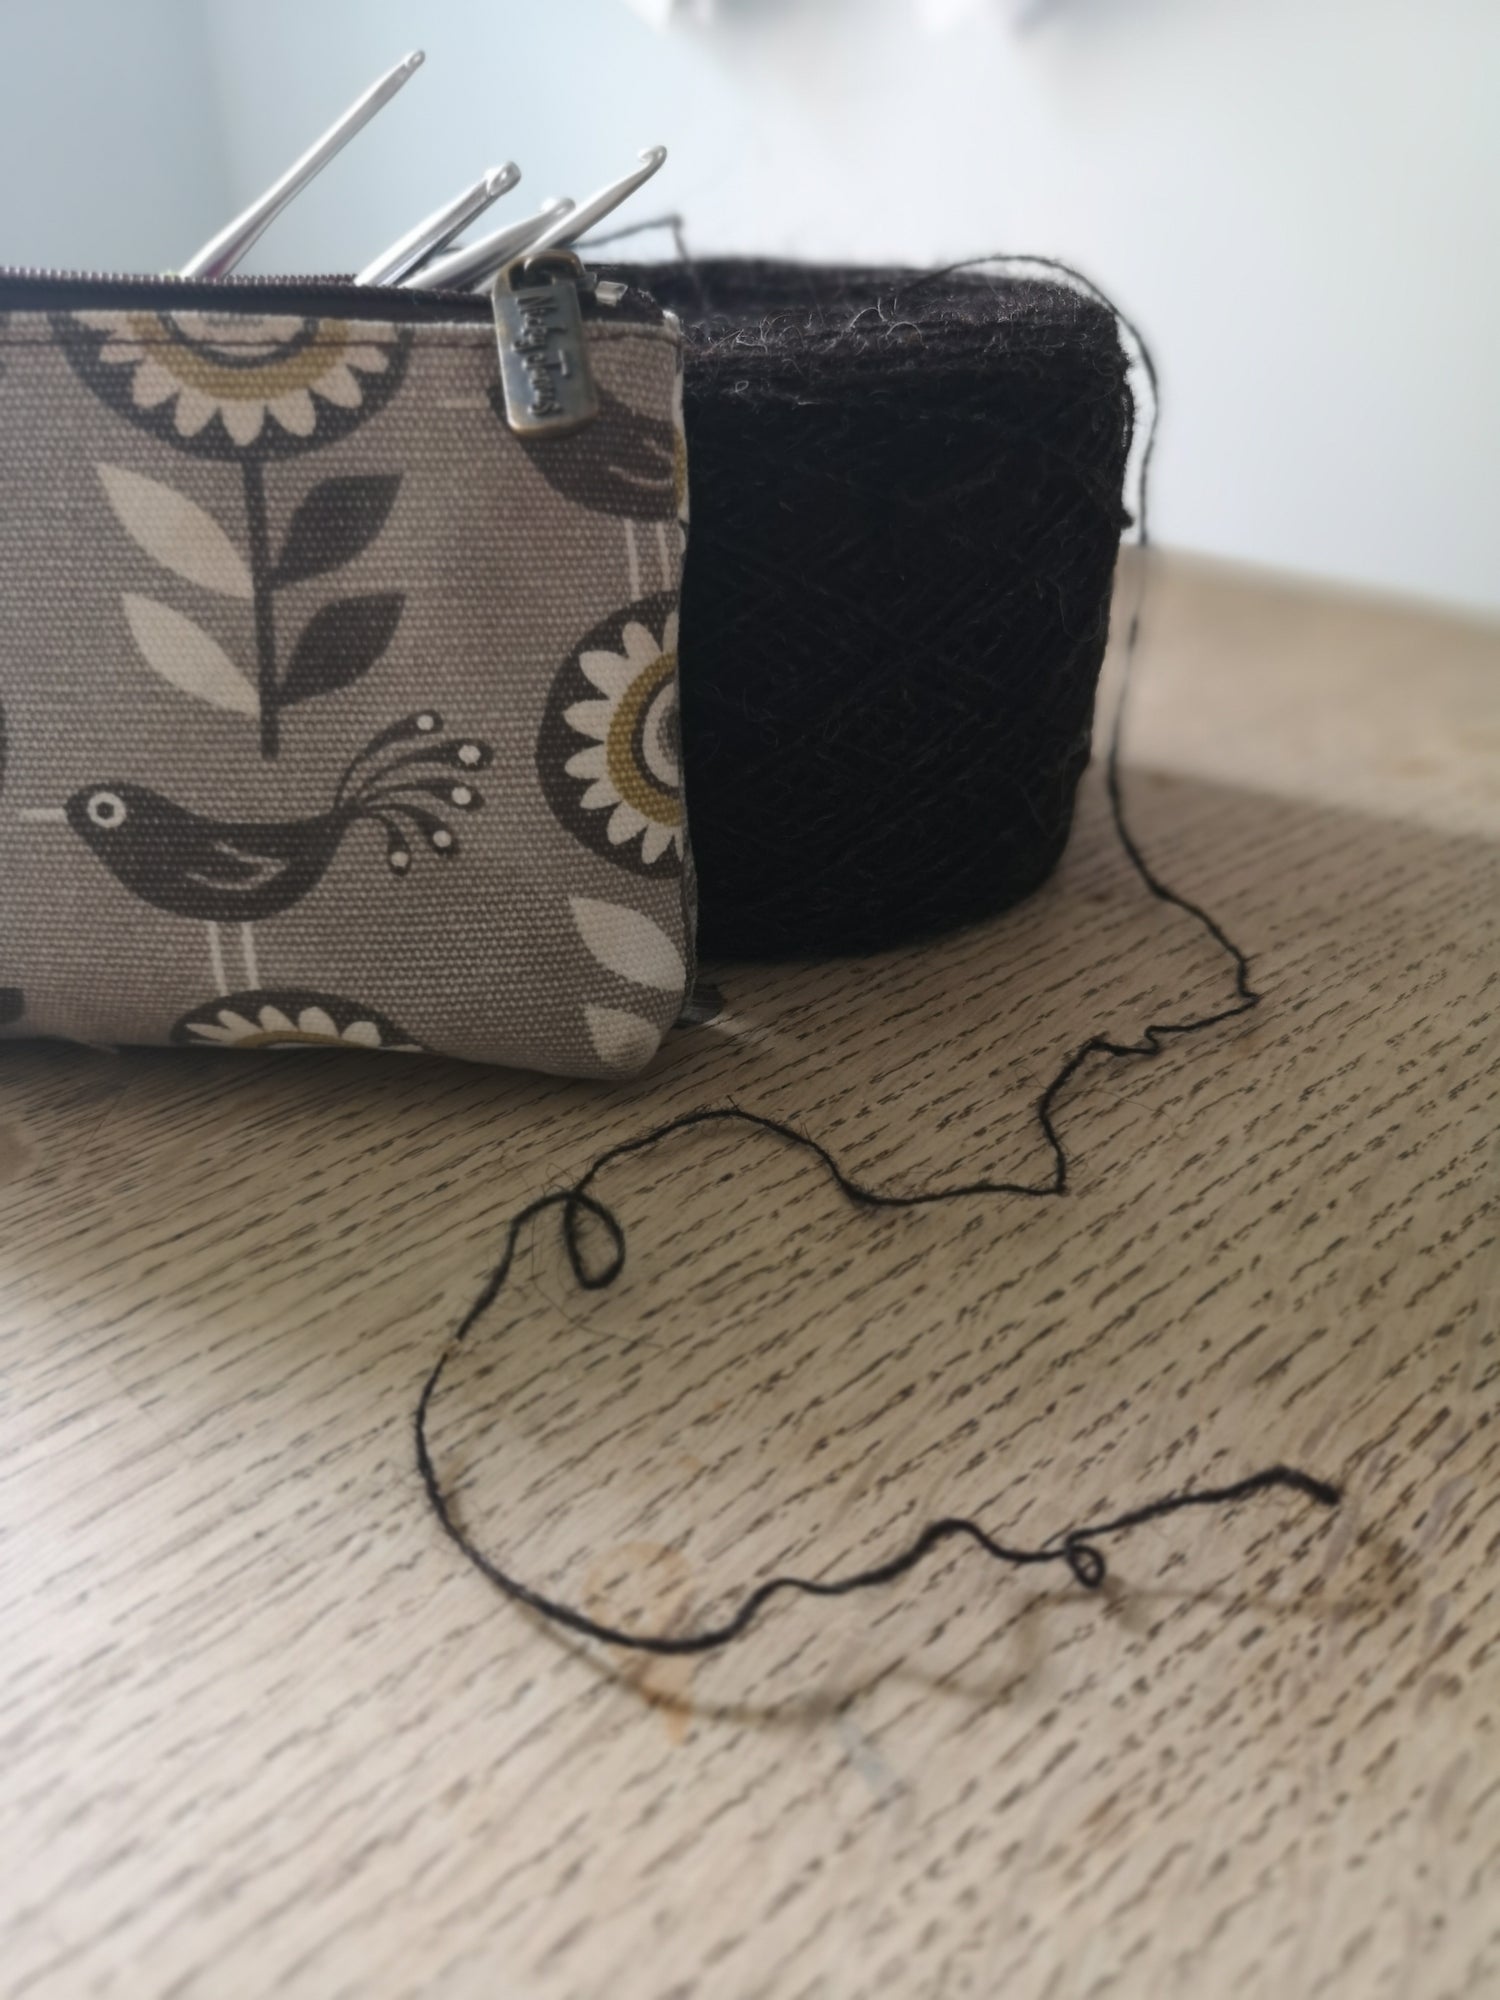
1/ The Yarn
I started off with a beautiful skein of Daughter of A Shepherd Hebridean Lace (not currently available) which was gifted to me (without obligation) its a crunchy rustic yarn straight off the skein but I was assured that it would bloom and soften on the first wash. I wanted to play and try and turn it into a published design. At this point I was unsure whether that would be a shawl a cardigan or a top.

2/ The inspiration research
I'd been inspired by spring wild flowers popping up and a play on the name of the yarn company. As a child one of my favourite wild flowers was Shepherds purse: I think the idea of teeny Shepherds using the leaves as purses sparked my fertile imagination. The diminutive scale of the flower and the laceweight yarn combined in my mind so I began by looking up a plant I wanted to reference and browsing stitch dictionaries for a suitable pattern as a starting point.

3/ The swatch
Working with lace weight yarn can feel fiddly or slow. The results are worth it in a delicate fabric but to mitigate this I prefer creating designs that work into chain spaces rather than having to find the top of tiny stitches. I wanted a design that echoed the little hearts and flowers in the Shepherds purse plant. After looking through my stitch dictionaries, I found a lace that met these requirements with just a few small modifications. It was time to swatch that idea!
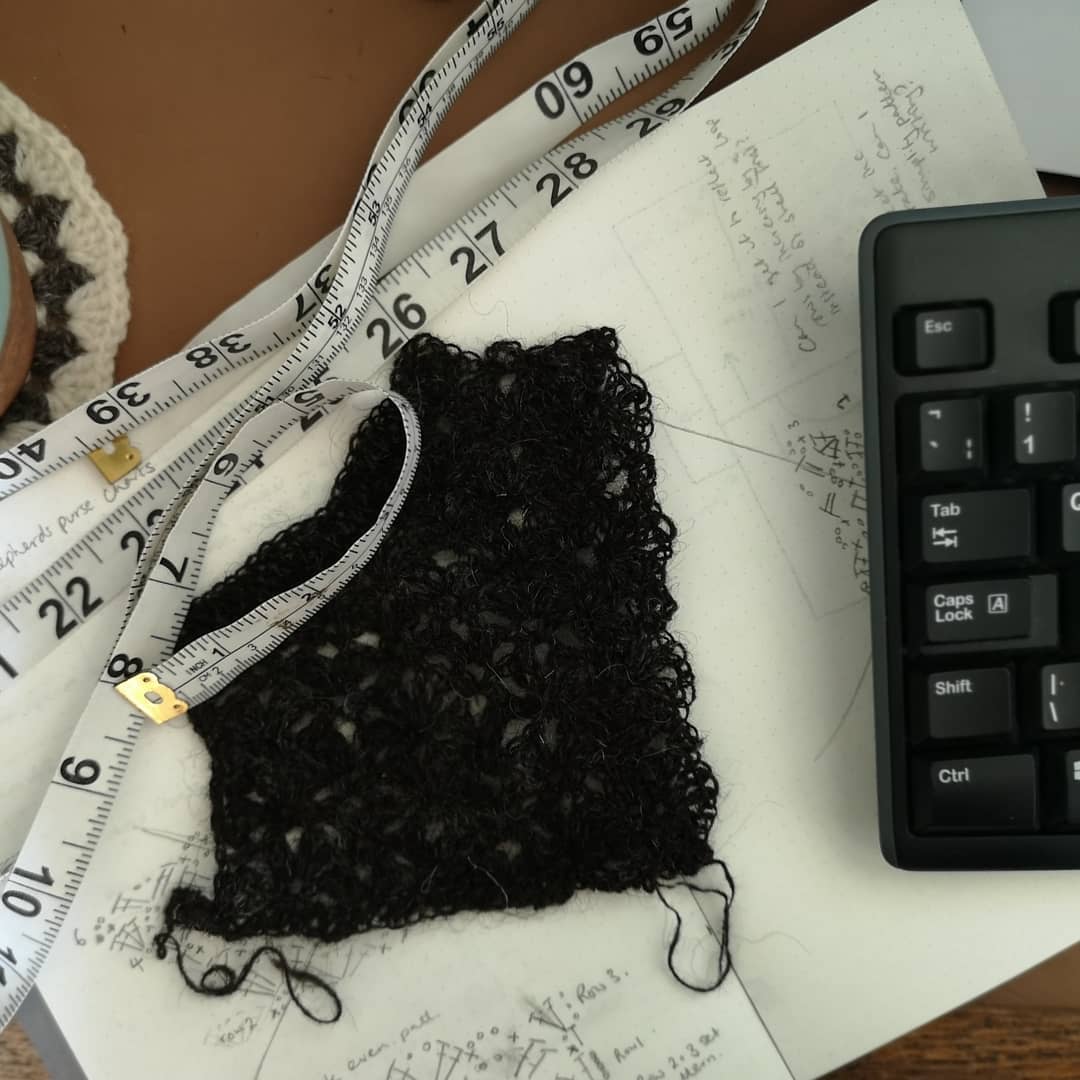
I made quite a small swatch (just 4in square) but because of the scale it fitted multiple repeats of the pattern. I also felt at this stage that I wanted the lace to become a top so knew I would be swatching again to work out how best to do the increases and decreases I'll need to create sleeve and neckline shaping.
The swatch looked good and most importantly I enjoyed the process of making it (I often abandon ideas just because I dislike working the stitch enough to slightly dread making a larger piece in it.) I blocked the swatch to check that I was happy with how the yarn behaved after its first wash.
I was lucky this time that this stage passed quickly without many iterations. Sometimes I'll sit ripping out ideas over and over. Sometimes I'll complete swatches but after blocking I'm unhappy and pass through this stage again.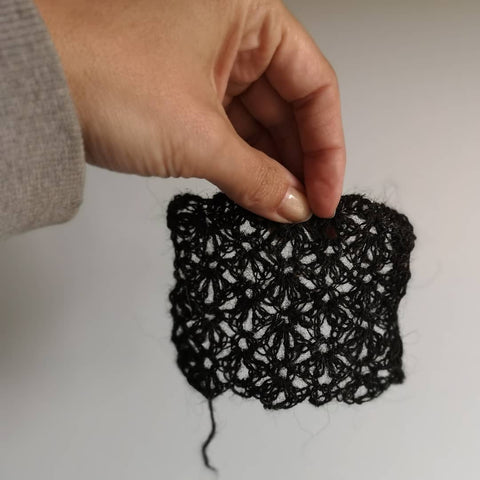
4/Sketching, charting and stitch pattern manipulation.
Now I had a stitch pattern that I was happy with I sketched an idea for a top out and identified what shaping needed to happen.
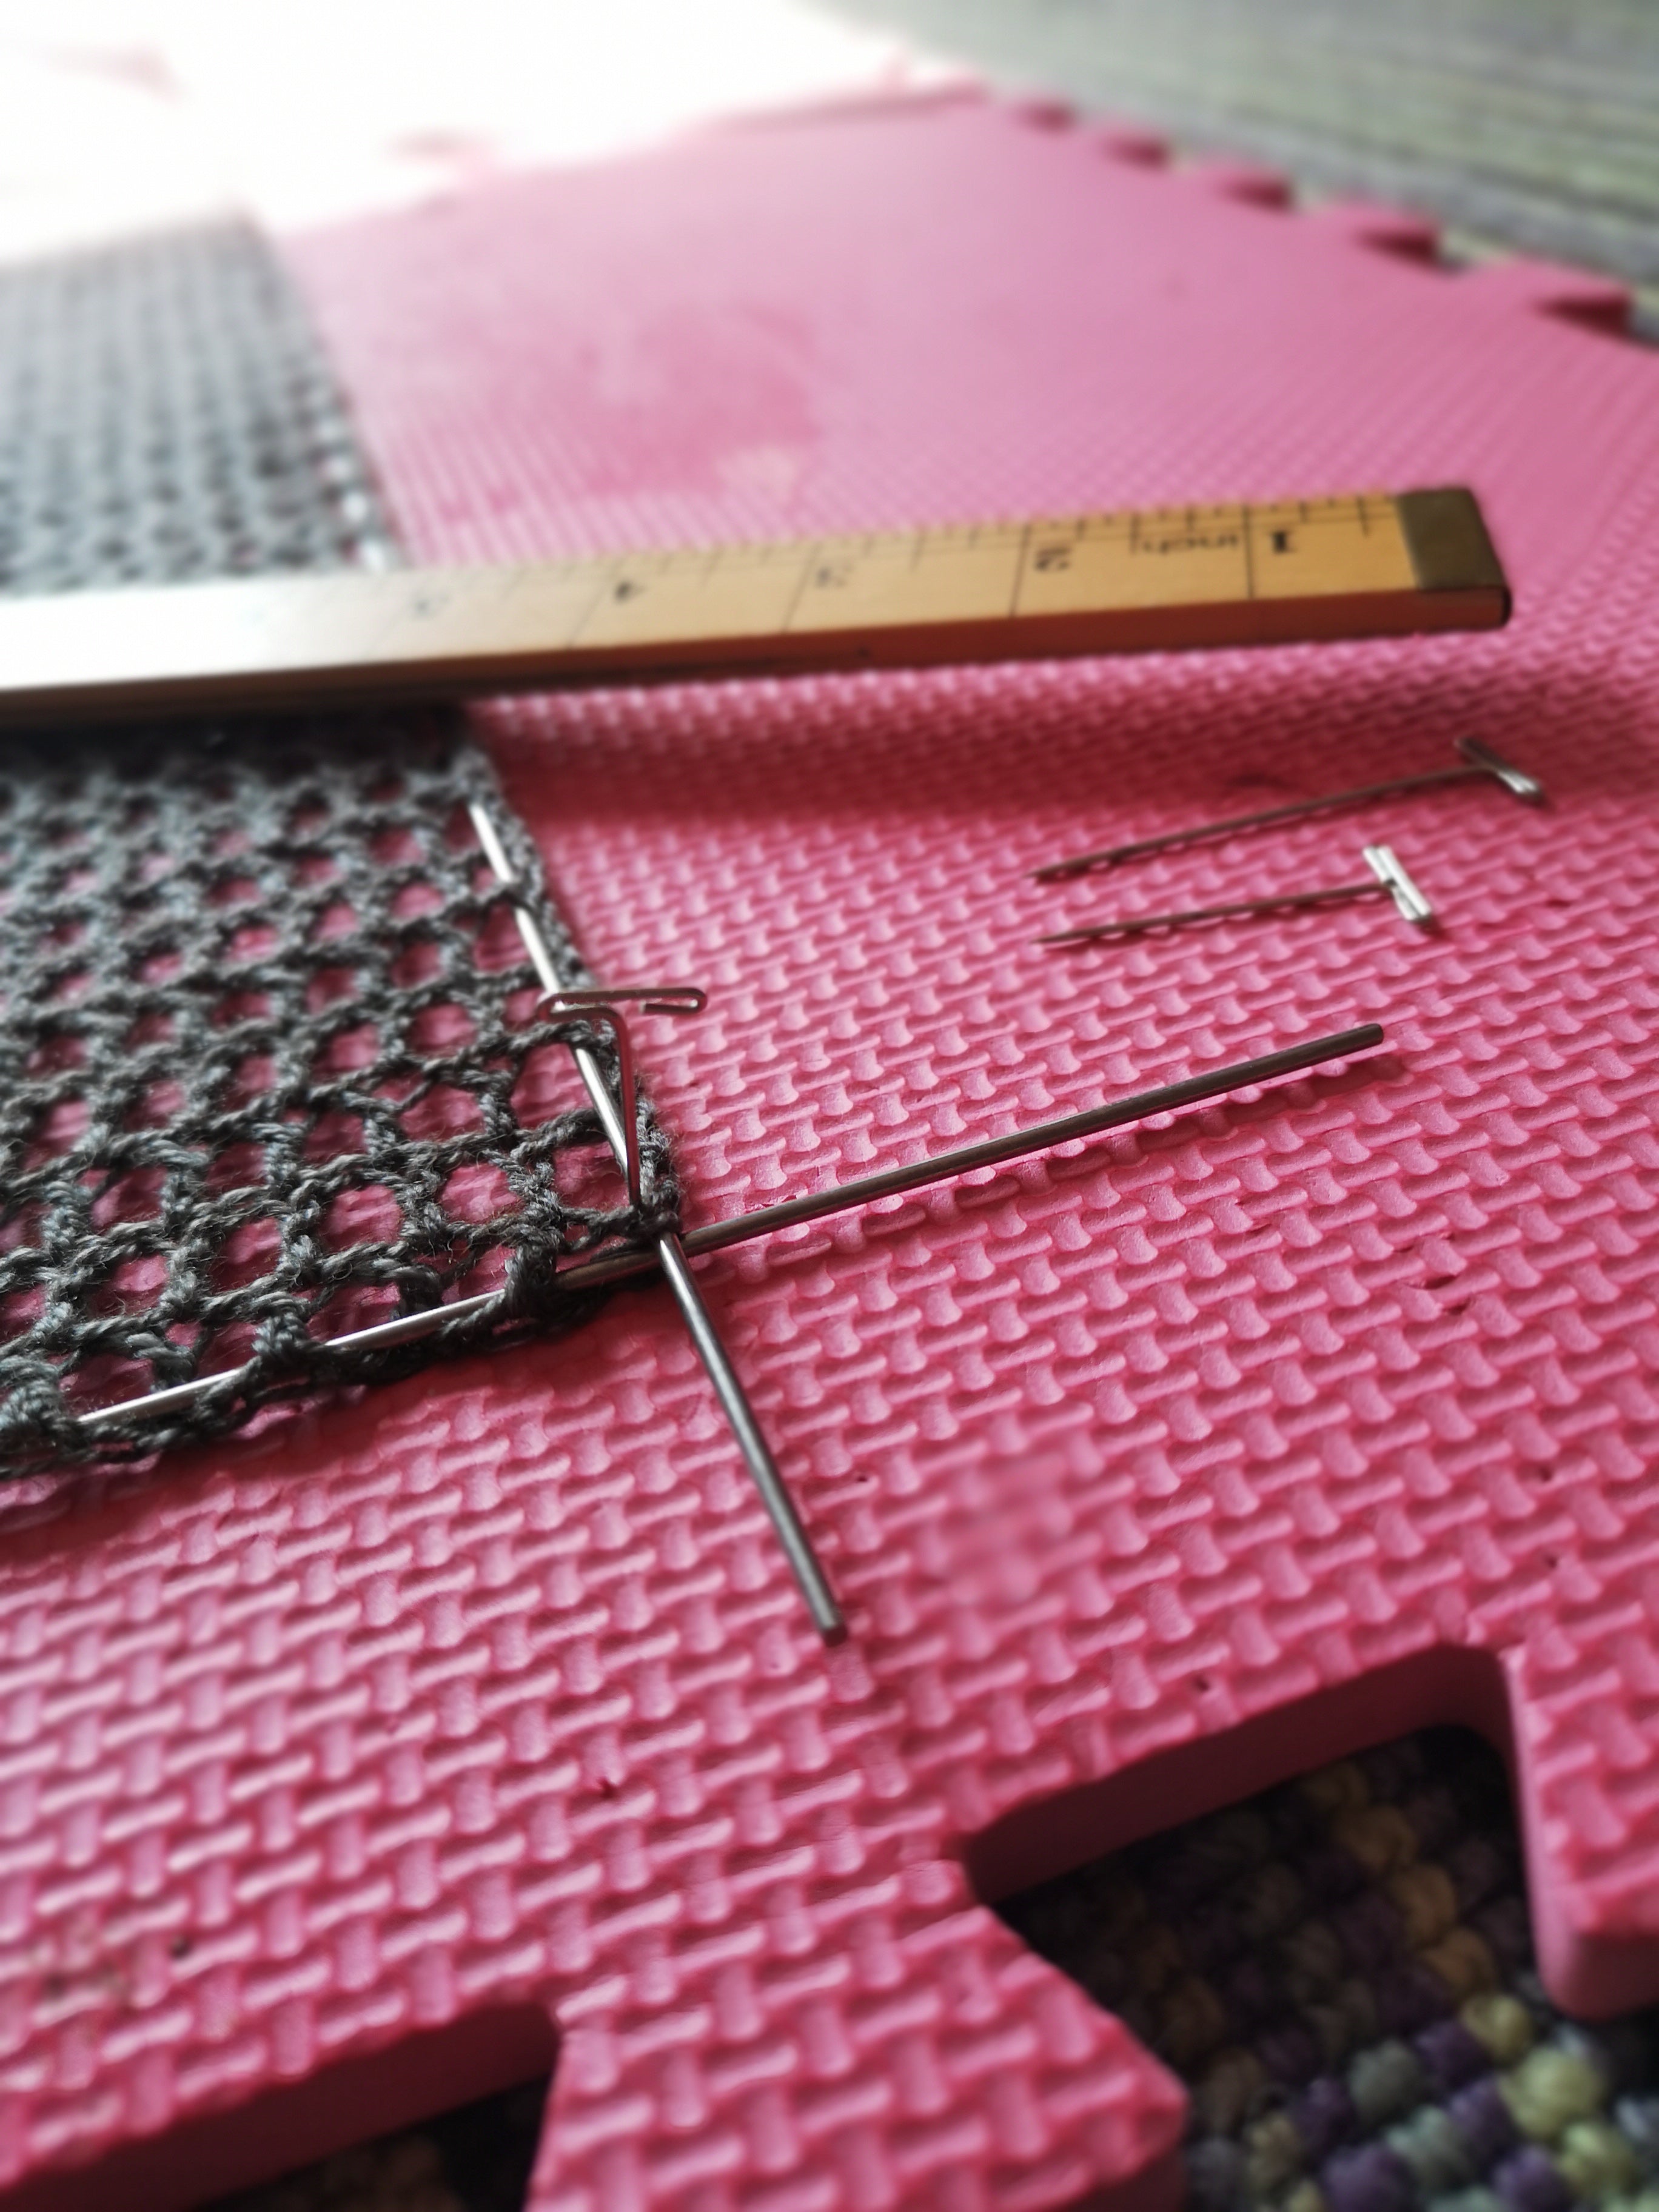
I then began to test and chart increases and decreases in the crochet lace to ensure I can make them work. Specifically: can the lace increase at the edge at the correct rate in a logical and easy to follow pattern? I wanted to do this to create a simple tee shape with sleeves that flare from the underarm to the shoulder. and to create a gentle sloping neckline that you can see in the schematic sketch at the top of the design journal in the photo.
Luckily manipulating crochet stitch patterns is one of my favourite things to do so I quite enjoy this process. You might enjoy one of my tips for chart manipulations here.

5/ Refining the idea
After a lot of experimenting by swatching different ideas I decided that a different construction was going to be the best way to go. The schematic was duly redrawn.
The rationale behind this decision was to make the instructions as easy as possible to write (and therefore, hopefully, to follow) and create a neat and attractive edge at the hem.
Playing with stitch patterns and having a good understanding of how different constructions will play with the pattern is a large part of my job as a designer. It's part of the unseen skill that creates a concise pattern and a project that flows. Sometimes it barely needs considering but this was a case where sticking with my first plan for construction would have made for a complicated pattern without giving any gain in the way it looks.
I did a bit of the swatching in a thicker yarn to better see where the stitches were going to get an idea of the process.

Now I had the design I was ready for the next step: Grading and writing.
If you'd like to see the finished pattern that resulted from this process then you can find it here:
And if you are a designer, perhaps beginning your journey or just wanting to improve your publishing skills, you may be interested in our online classes for professionals:
Leave a comment
All comments are moderated before being published.
This site is protected by reCAPTCHA and the Google Privacy Policy and Terms of Service apply.