So you've finally fastened off at the end of a large project but the results are a little underwhelming? You wish it looked as neat as the picture in the magazine or pattern but it looks a bit crumpled and uneven? It's not that your work isn't as good as theirs, its that you actually haven't quite finished. A knit or crochet project isn’t finished until you’ve blocked it.
What is blocking and why should I do it?
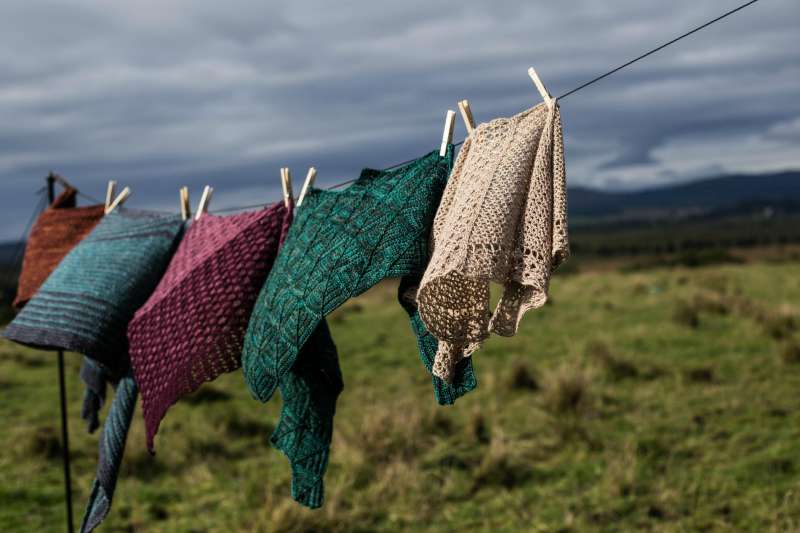
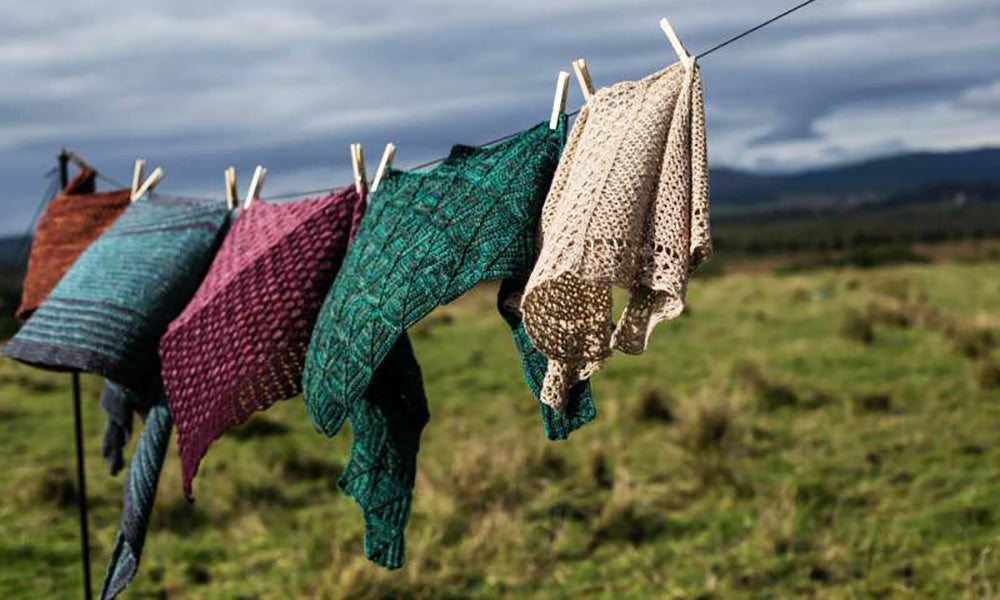
The process of blocking, also sometimes known as dressing or finishing, sets the stitches in place. It can turn a project from "okay" to "oh wow!" Not convinced, lets take a look at a before and after:


While it is arguably more important for lace to really open the work, even plain solid stitches benefit from the process. Its also benefits all yarn fibres although some (such as wool) hold their shape after blocking better than others (cotton for example)
Although the effect is less on solid stitching it is still worth the effort as blocking minimises curling and neatens the work. Here's a before and after on a more solid piece that's made in a mixed wool/acrylic fibre.


There are various ways of blocking your work using water, mist or steam but for this tutorial we are going to look at wet blocking where you wash the piece of work and lay it out to dry. Not only will washing remove any oil or dirt in the yarn from the machine process or your hands, it will set the stitches nicely.
When should I block?
I always block my swatches - its such an important part of checking that you are working to the correct tension. You can find more about the proper way to swatch here.
Because blocking is easier if the item is small and flat I normally block pieces of a project before joining them. So I would block all the individual squares of a blanket before assembling them. The advantage of this is that joining pieces is quicker, easier and more accurate after blocking because the stitches are more even and set in their proper place and tension, especially if you are joining rows ends to stitches.
If you've made a seamless or one piece item then I usually block before I do finishing touches like button bands to make those easier to work.
What tools and materials do I need for wet blocking?
At its most basic blocking can just be soaking in plain water, pressing out excess water and laying out flat to dry. You will need no more than a towel to blot the work and a clean space to lay the work. You will get better results and make it easier on yourself though if you have some basic equipment:
- A bowl of hand hot water
temperature isn't crucial, warm helps dissolve grease and dirt better - A non rinse wash (such as Euclan or soak)
a little detergent is helpful to clean the wool and not having to rinse it out reduces the risk of you felting the work - A towel
to blot the piece before laying out - Non-rusting t-pins
these are fairly widely available, you want a steel pin that won't rust and risk damaging your work, the t-shape helps keep the work from sliding off the top as you fiddle it around - Foam blocking mats
you can buy professional blocking mats or you can use gym floor tiles or kids foam play mats (the type that have the alphabet or number push outs - they fall out and are very annoying to block with but can be picked up cheaply at a car boot sale) or yoga mats. - A tape measure or metre rule
so you can check you are pulling the work out to the correct size (based on desired finished measurements, a schematic or the tension information) the metre rule can be useful if you want to keep your lines straight - blocking wires
these are a nice to have and save a lot of time, they are very fine steel rods. I believe they can be picked up at builders merchants but you'd need to spend time making sure they are smooth and grease free and non rusting and the professional sets are not that dear.

How do I wet block?
Step One: Wash the finished item, following the washing instructions on the ball band. Take care, you spent time making it so it is worth laundering it carefully. You may be able to use the wool wash setting on your machine and a specialist wool detergent. (Of course you will have checked this worked okay with the swatch if you followed our instructions to the letter!)
Normally because I don't want any machine related mishaps to ruin my work, I hand wash and to do this I fill a bowl or sink with hand-hot water and a teaspoon or so of a no rinse wool wash such as Euclan or Soak.
Place the piece or pieces into the bowl and push to fully submerge them. Allow the piece to soak for 20 minutes as this will allow the yarn to get wet all the way through and really penetrate the fibres

Step Two: After its had its soak lay out a towel ready and gently lift the piece out of the water and use your hands to squeeze out as much excess water as you can using a gentle squeezing motion. I normally press it against the side of the bowl. You want to be as gentle as possible with wet yarn as it can stretch out of shape or felt if roughly handled or agitated.

Step Three: lay the piece on the towel. You don't need to be too precious about how its laid out but if you can get it in a single layer you'll get more water out.

and roll the towel up and press on the towel to blot as much water out as you can. This really speeds up the drying time on the mat.

Step Four: Place the piece onto the mat. Again, be careful about how you transfer it, it is delicate while wet. Smooth the piece out into the rough size and shape it needs to be. Using a measuring tape to check for the correct tension inside the piece and for the correct external measurements (checking against the pattern in both cases) gently correct the size and shape using your hands.

For plain pieces of solid stitching this may be all you have to do but for anything that is trying to move back into its original shape or needs a little definition or straightening at the edges then you will need to begin pinning.
Step 5: If you are using pins begin pinning the piece into shape. Start by placing a pin in each corner to get the correct outline shape.

then smooth out the fabric from the centre out to make sure the stitches are even and pin along the edges.
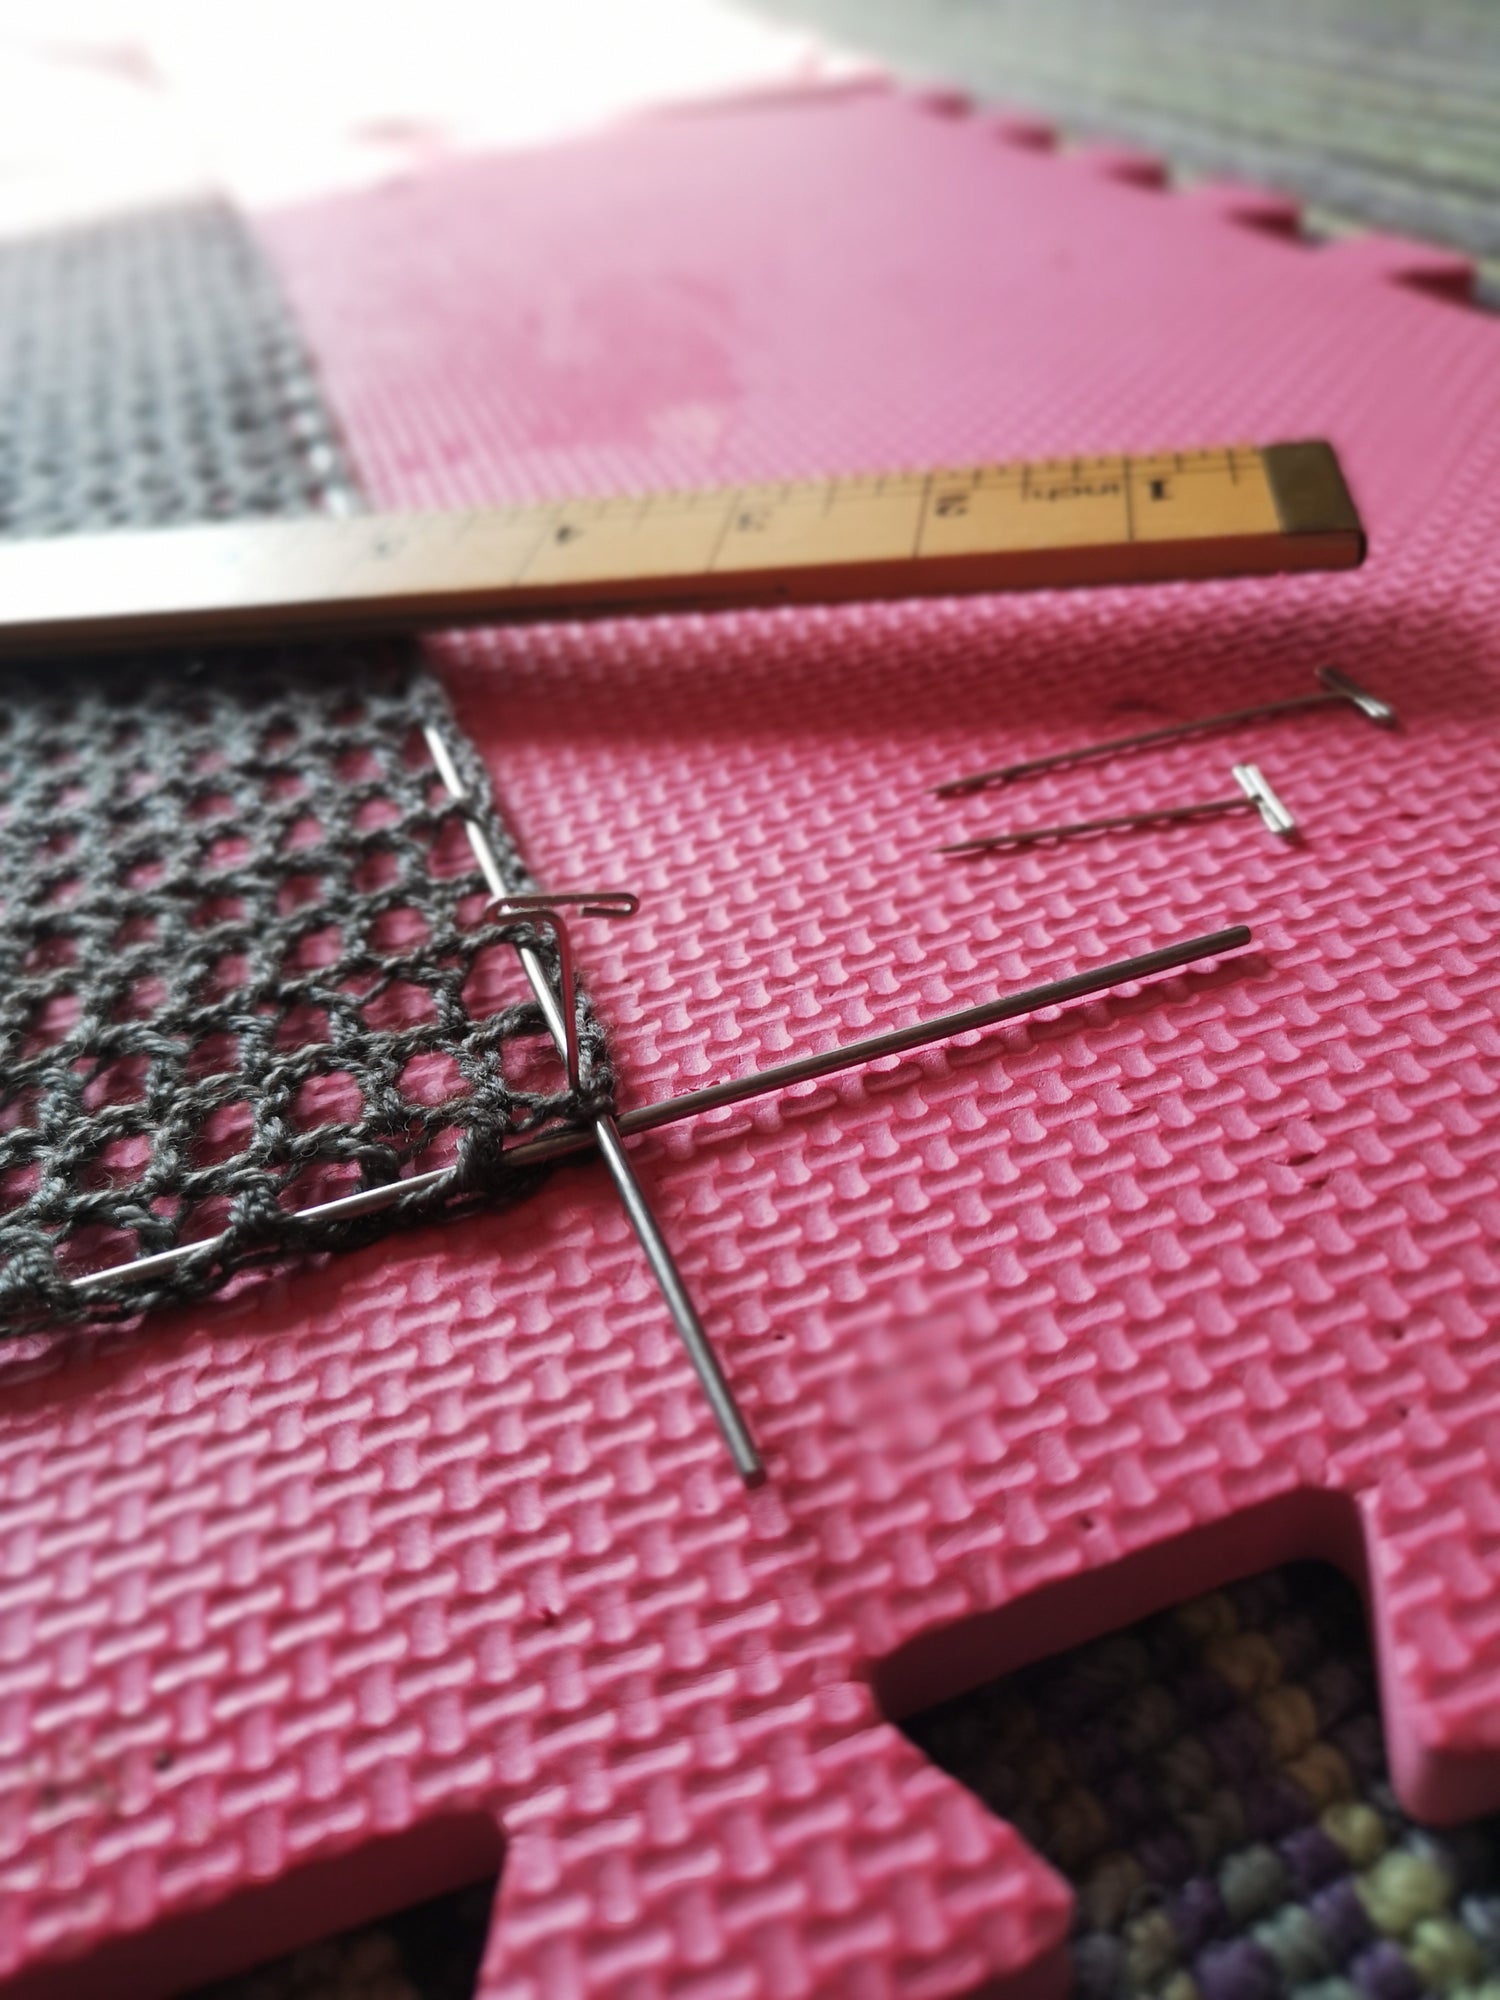
OR if you are using wires you will thread the wire evenly through the stitches and row ends to create the shape then pin the corners to shape

As you can see, the wires create nice neat lines that need only a few pins to support them, each pass of the wire through the fabric is the same as placing a pin but its much easier to make adjustments. You can see in the picture about that the shaped end to pass through the wire to accentuate the pattern and supported the dips with a pin.
Step Six: Allow to dry fully. A warm sunny spot is quickest but for pet owners that's going to lead to it being sat on! Somewhere not too in the way, if you did your blotting well and your house is warm it may dry overnight. You can also place a well pinned piece on a mat against a wall to dry vertically without affecting the shape, this can be a real space saver.
Step Seven: Remove the pins and wires you are done!

If you've enjoyed this basic tutorial on blocking and would like to learn to block like a professional then you may enjoy our online Blocking Masterclass
You can grab yourself a discount on the course by signing up to our newsletter here.
Leave a comment
All comments are moderated before being published.
This site is protected by reCAPTCHA and the Google Privacy Policy and Terms of Service apply.