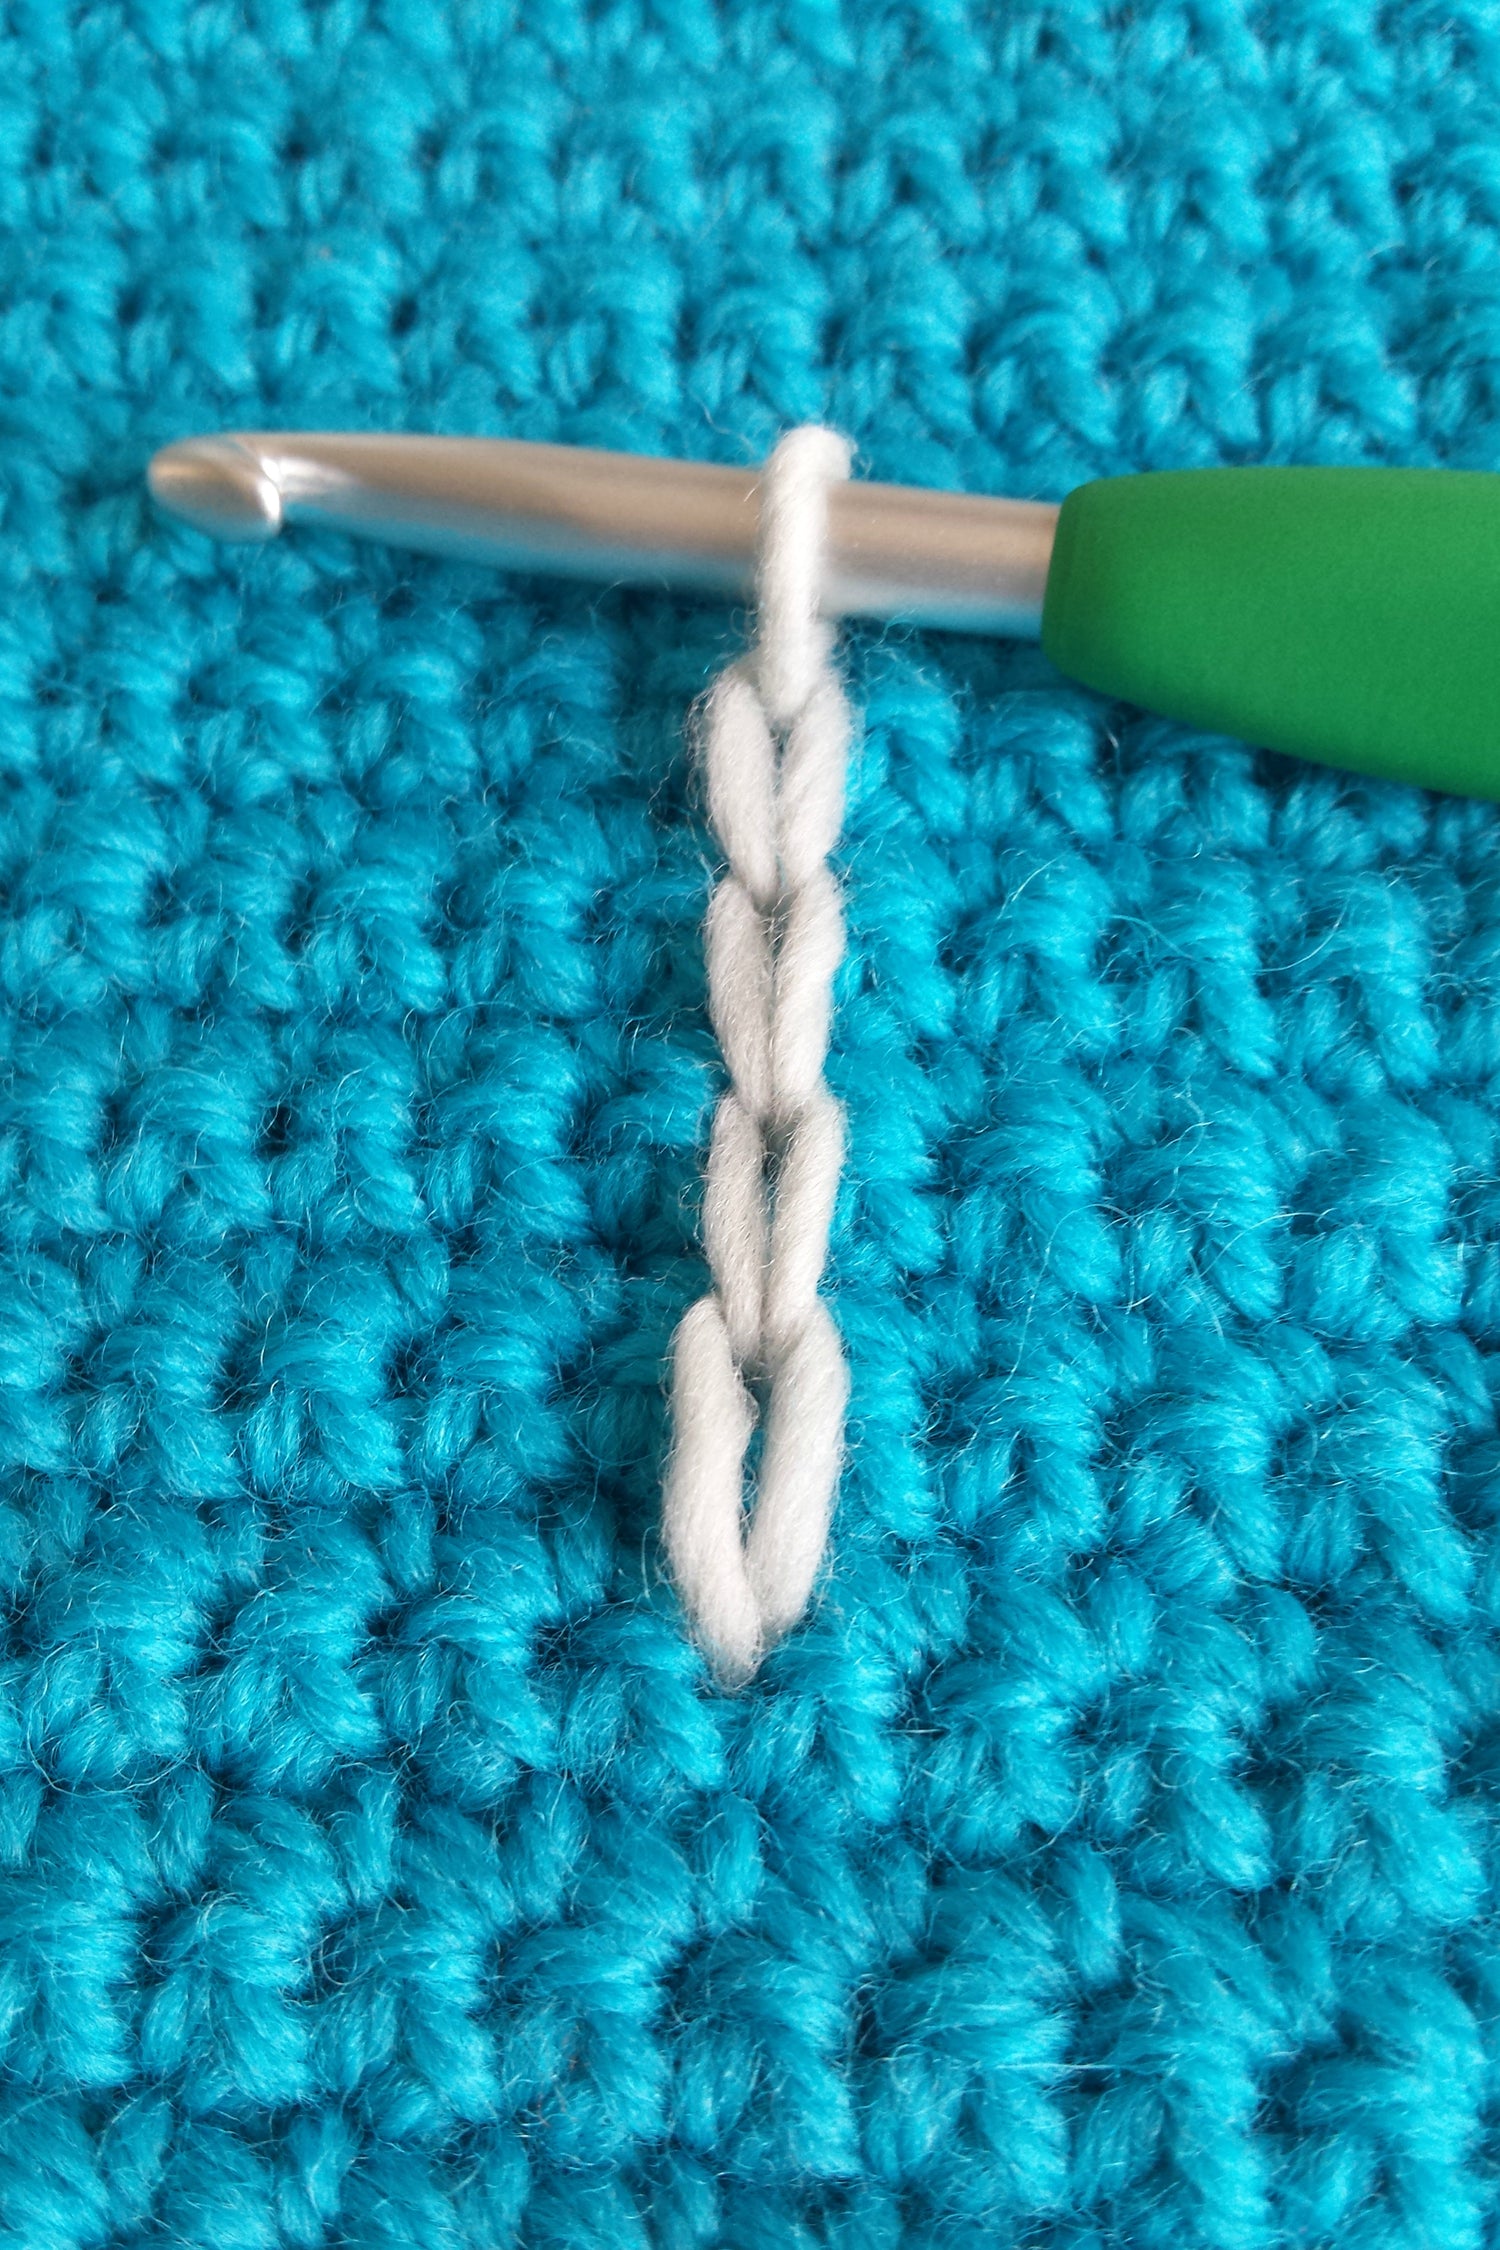
Surface crochet is a decorative technique using a crochet hook. It is equally easy to apply it to knitting, crochet and tunisian crochet pieces and even some loosely woven fabrics. It can be used to make straight lines and swirling patterns very easily over the surface of the fabric.
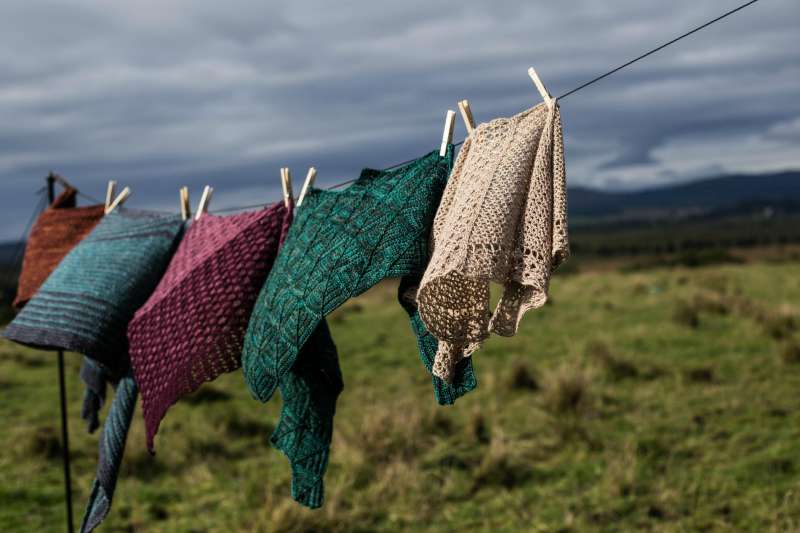
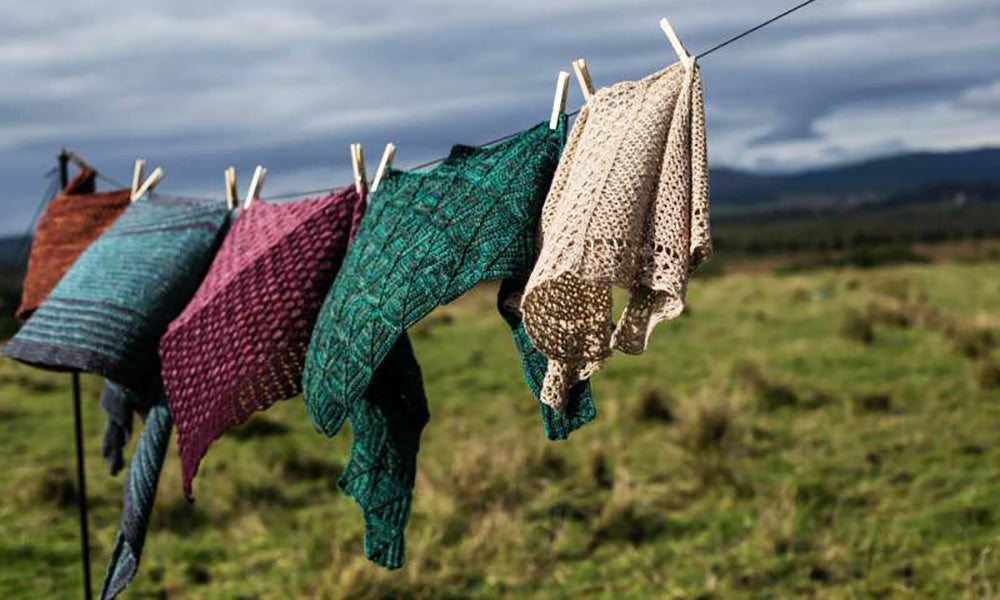
The right side looks like a chain stitch while the reverse looks like an embroidered back stitch and is equally attractive. Try using both in a design by working into both sides as the right side as in the Direction of Travel Shawl

Perfect for using up small scraps of yarn, surface crochet can add colour and fun to plain pieces. It is a very practical way to embellish as it is quickly and easily unpicked as tastes and fashions change.
As well as the more common decorative applications, surface crochet can be practical too. It can be used to join two pieces together by pulling the yarn through two layers held together. Another application is to use it to make a perpendicular join in crochet, working a line of surface crochet then using the chain as if it were a stitch, this technique is often used in crochet slippers and bootees.
But why not just embroider it? While they give a similar look, surface crochet offers two distinct advantages over getting the needle out. Both sides looks neat which isn't the case for either chain stitch or back stitch that this technique mimics. There is no need to break off a length of yarn before you start or pull through long strands to make the stitches and this means fewer ends to weave in – always a plus!
Top tip: If you find it difficult, try using a smaller hook and lighter yarn than the original fabric was made from.
Top tip: You can use water soluble pens (designed for embroidery and dress making) to mark out your design before you begin – just remember to test it somewhere inconspicuous first.
How to:
Step 1: With the yarn held behind the work, inset hook through the fabric from front to back and pull up a loop.

Step 2: Insert hook through the fabric where you would like the top of the next stitch to be and pull up a loop through the fabric and the loop on the hook.

Step 3: Repeat step 2 as many times as desired.

Step 4: To finish off; break the yarn, insert the hook through the fabric where the last stitch was placed and pull the yarn through the fabric and the loop on the hook, pull the yarn tight then weave in the end.

Leave a comment
All comments are moderated before being published.
This site is protected by reCAPTCHA and the Google Privacy Policy and Terms of Service apply.