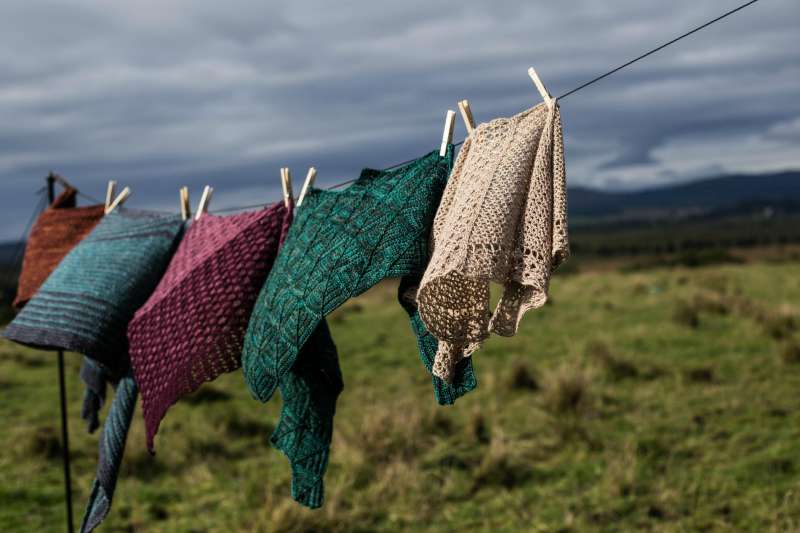

This article is all about some very magic sleeves. I'm not talking about David Blane's ability to pull a ferrari out of his jacket (not sure he's actually done that trick yet - Dave, if you are reading, you can have that idea!) I'm talking about a very clever way of making sleeves that always make me feel like some kind of magical genius - seamless set in sleeves.
But lets back up a little. What do we mean by set in sleeves? Set in sleeves are just one sleeve style among many options that we see in sweater patterns and indeed in the shops. Here are the most common different styles you'll come across
|
|
The set in sleeve has a sleeve seam that starts before the edge of the shoulder and curves around to the underarm. It gives a closer fitting silhouette without bulk at the underarm. If you are making this as a seamed piece then you would have to crochet a sleeve that looked something like this.
|
|
The top curves to create what we call a sleeve cap to create room for the shoulder. Typically there is a longer perimeter on the sleeve cap than around the armhole which means its quite tricky to sew it in smoothly (there are lengthy tutorials dedicated to the art!)
So when I discovered that in knitting there is a great way to create a seamless set in sleeve using short rows I was keen to try it in crochet.
My knitting bible for top down seamless design is Knitting from the Top by Barbara G Walker. If you are interested in design its a must read. It's written in a very conversational style which you then need to convert into figures and actions for yourself but the principles she sets out are game-changing.
The first time I used this method was for the Alyssium Cardigan.
|
|
As you can see, it gives a very neat fit. I do find that short rows tend to fox people a little, its quite hard to imagine how the instructions are ever going to create that three dimensional piece of fabric you need at the shoulder. Its one of mine and Kat's favourite methods of construction and crops up lots in our patterns. Here's the basic principle:
|
|
1/ Starting off with the body made, with front and back joined at the shoulder and underarm at least, you attach yarn at the centre of the underarm.
2/ Work a row that finishes about two thirds around the armhole.
3) Turn and work back the top third of the the armhole.
4/ You'll then turn and work a lightly longer row and then repeat this as you watch the sleeve cap form - just like magic.
Obviously the full instructions are always in our patterns but hopefully it's helpful to see some progress shots to give you confidence you are doing it correctly.
The progress shots were taken from Chunky Monkey. Its a chunky/bulky weight sweater thats still fairly close fitting so the set in sleeve was the obvious choice for the silhouette and its a rather good one to make as your first set in sleeve as the chunky yarn means you've got so few stitches to work before you start to see it all appear.
|
|
The other interesting thing about this method of creating a shoulder cap is that it's almost exactly the same as turning a traditional heel flap on a sock.
Leave a comment
All comments are moderated before being published.
This site is protected by reCAPTCHA and the Google Privacy Policy and Terms of Service apply.