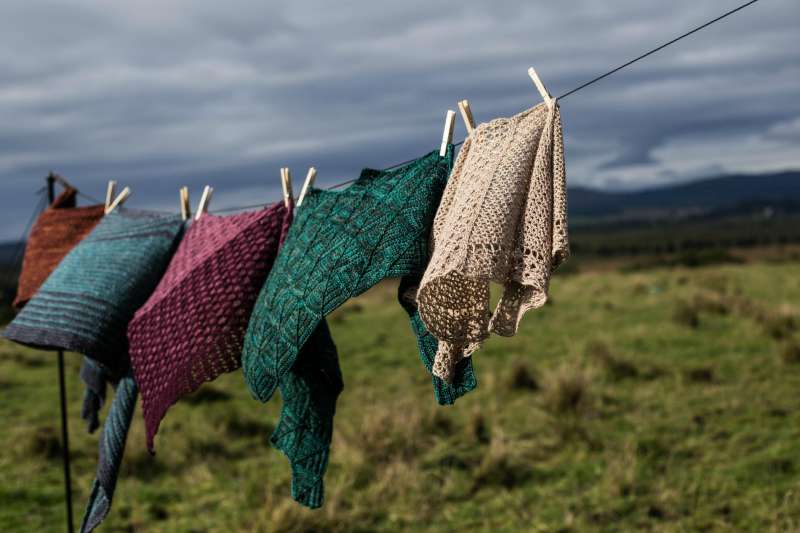
I'm often asked about how I come up with my designs, so I wanted to record the process of one design I worked on, from first winding the skein to pattern launch.
Because so much goes into a pattern creation I've broken it into manageable chunks.
The first part of this process is taking the inkling of inspiration and turning it into a workable idea. How inspiration is tested and finessed before you start writing or making. You can read about that in Inspiration to Idea
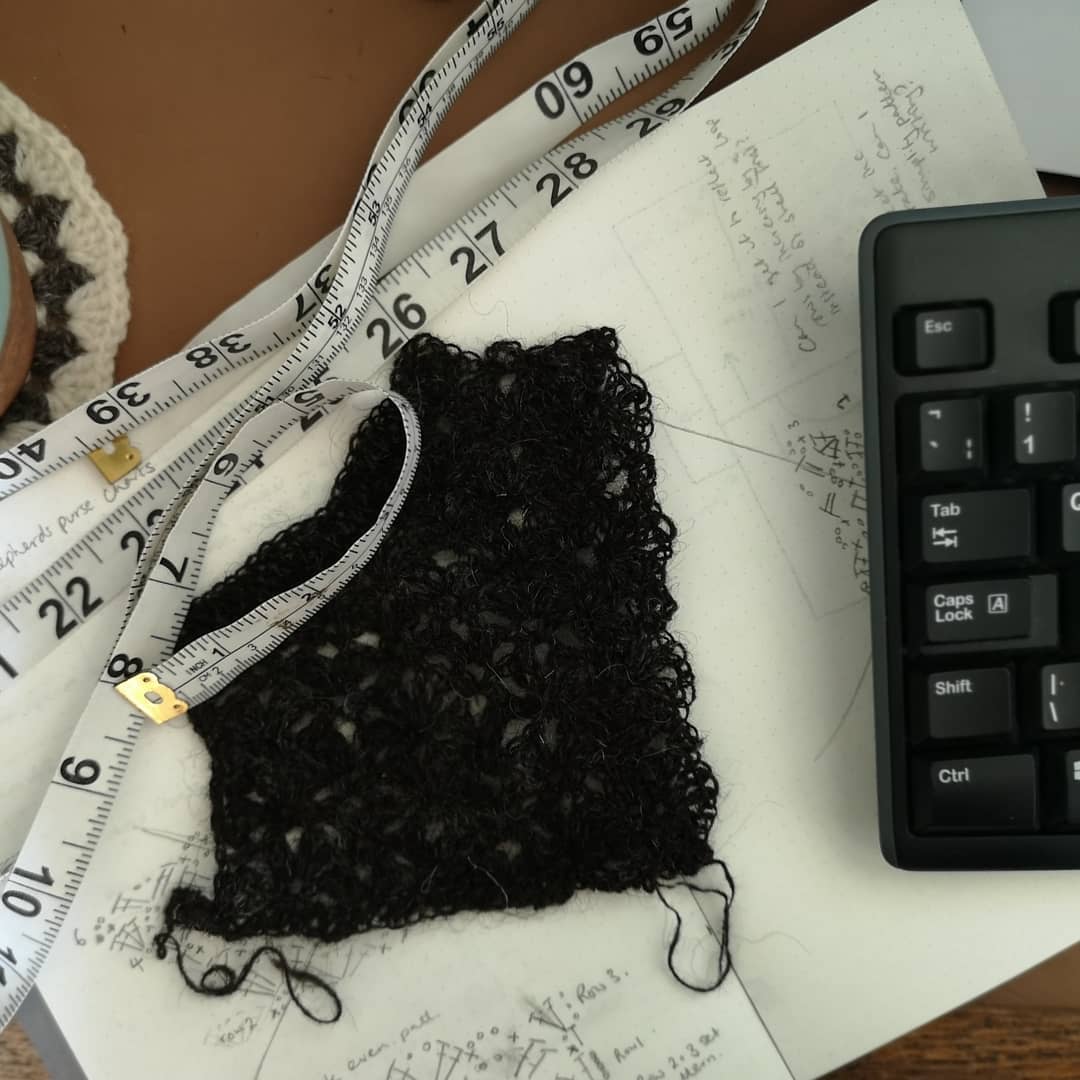
Once you have the idea you need to work out the details of the sizing (this process is called grading, make a photographic sample and get it photographed, and write up the pattern. You can read more in Idea to Draft
This section is about how you get the draft pattern and photographs and turn them into a finished pattern that is ready for sale.
1/ Editing.
The draft pattern is sent to our tech editor along with a picture for reference and a hand drawn chart and schematic. She then goes through the pattern with a fine tooth comb to check it all works and will fit the bodies it's supposed to fit.

The tech editing process is vital for a quality pattern. We use one or two tech editors depending on the pattern complexity and the number of errors found in the first pass. This ensures that you will have a pattern you can trust when you buy from us. Mistakes can still slip through, no editing process can stop this.
Also, if you look at the schematic, you'll see where I added extra information points in this pattern (and all going forward.) Inspired by sewing patterns, I wanted to add much more than the bust and length measurements that are the standard. This helps crocheters make the more informed decisions about which size to pick and what alterations they might want to make. Extra measurements are also helpful for the tech editor to check the instructions are making the garment I think they are making!
As a side note, I often get asked why I don't run use pattern testers. If you haven't heard of this, its where a designer has a team of crocheters that make up the patterns in various sizes before release to check the instructions work. They will normally ask the testers to photograph and share their finished projects online and the testers provide their own yarn. Compensation is typically only early access to the pattern under test and perhaps another free pattern as a thank you. I don't use pattern testers because I do not believe in asking people to work for free - or in fact at a cost to themselves as they provide the yarn. I also haven't found that testers have highlighted problems as efficiently or effectively as a professional tech editor can. There are pros and cons and this is probably a whole blog post on its own but that's my brief answer!
2/ Charting
I always start my layout with charting. As you may know, all of our patterns are written and charted where possible, but there isn't an easy way to layout charts for crochet. While there are a couple of pieces of software that claim to create crochet charts they are clunky and have severe limitations. If all your work is simple stitches in rows you might get away with them but they don't do well with ripples and lace at all. Because of this its worth learning to use a design tool such as Illustrator or Inkscape to create them. Using a crochet stitch font as the basis, each chart is assembled in Illustrator from the hand drawn chart and cross referenced with the written pattern as another point of checking the pattern.

Our schematics are also drawn up in Illustrator. So the work in learning the program benefits the business twice for every pattern. This work is quite expensive to hire out (and crochet charts is an unusual skills) so we are grateful to have the skills to do it ourselves
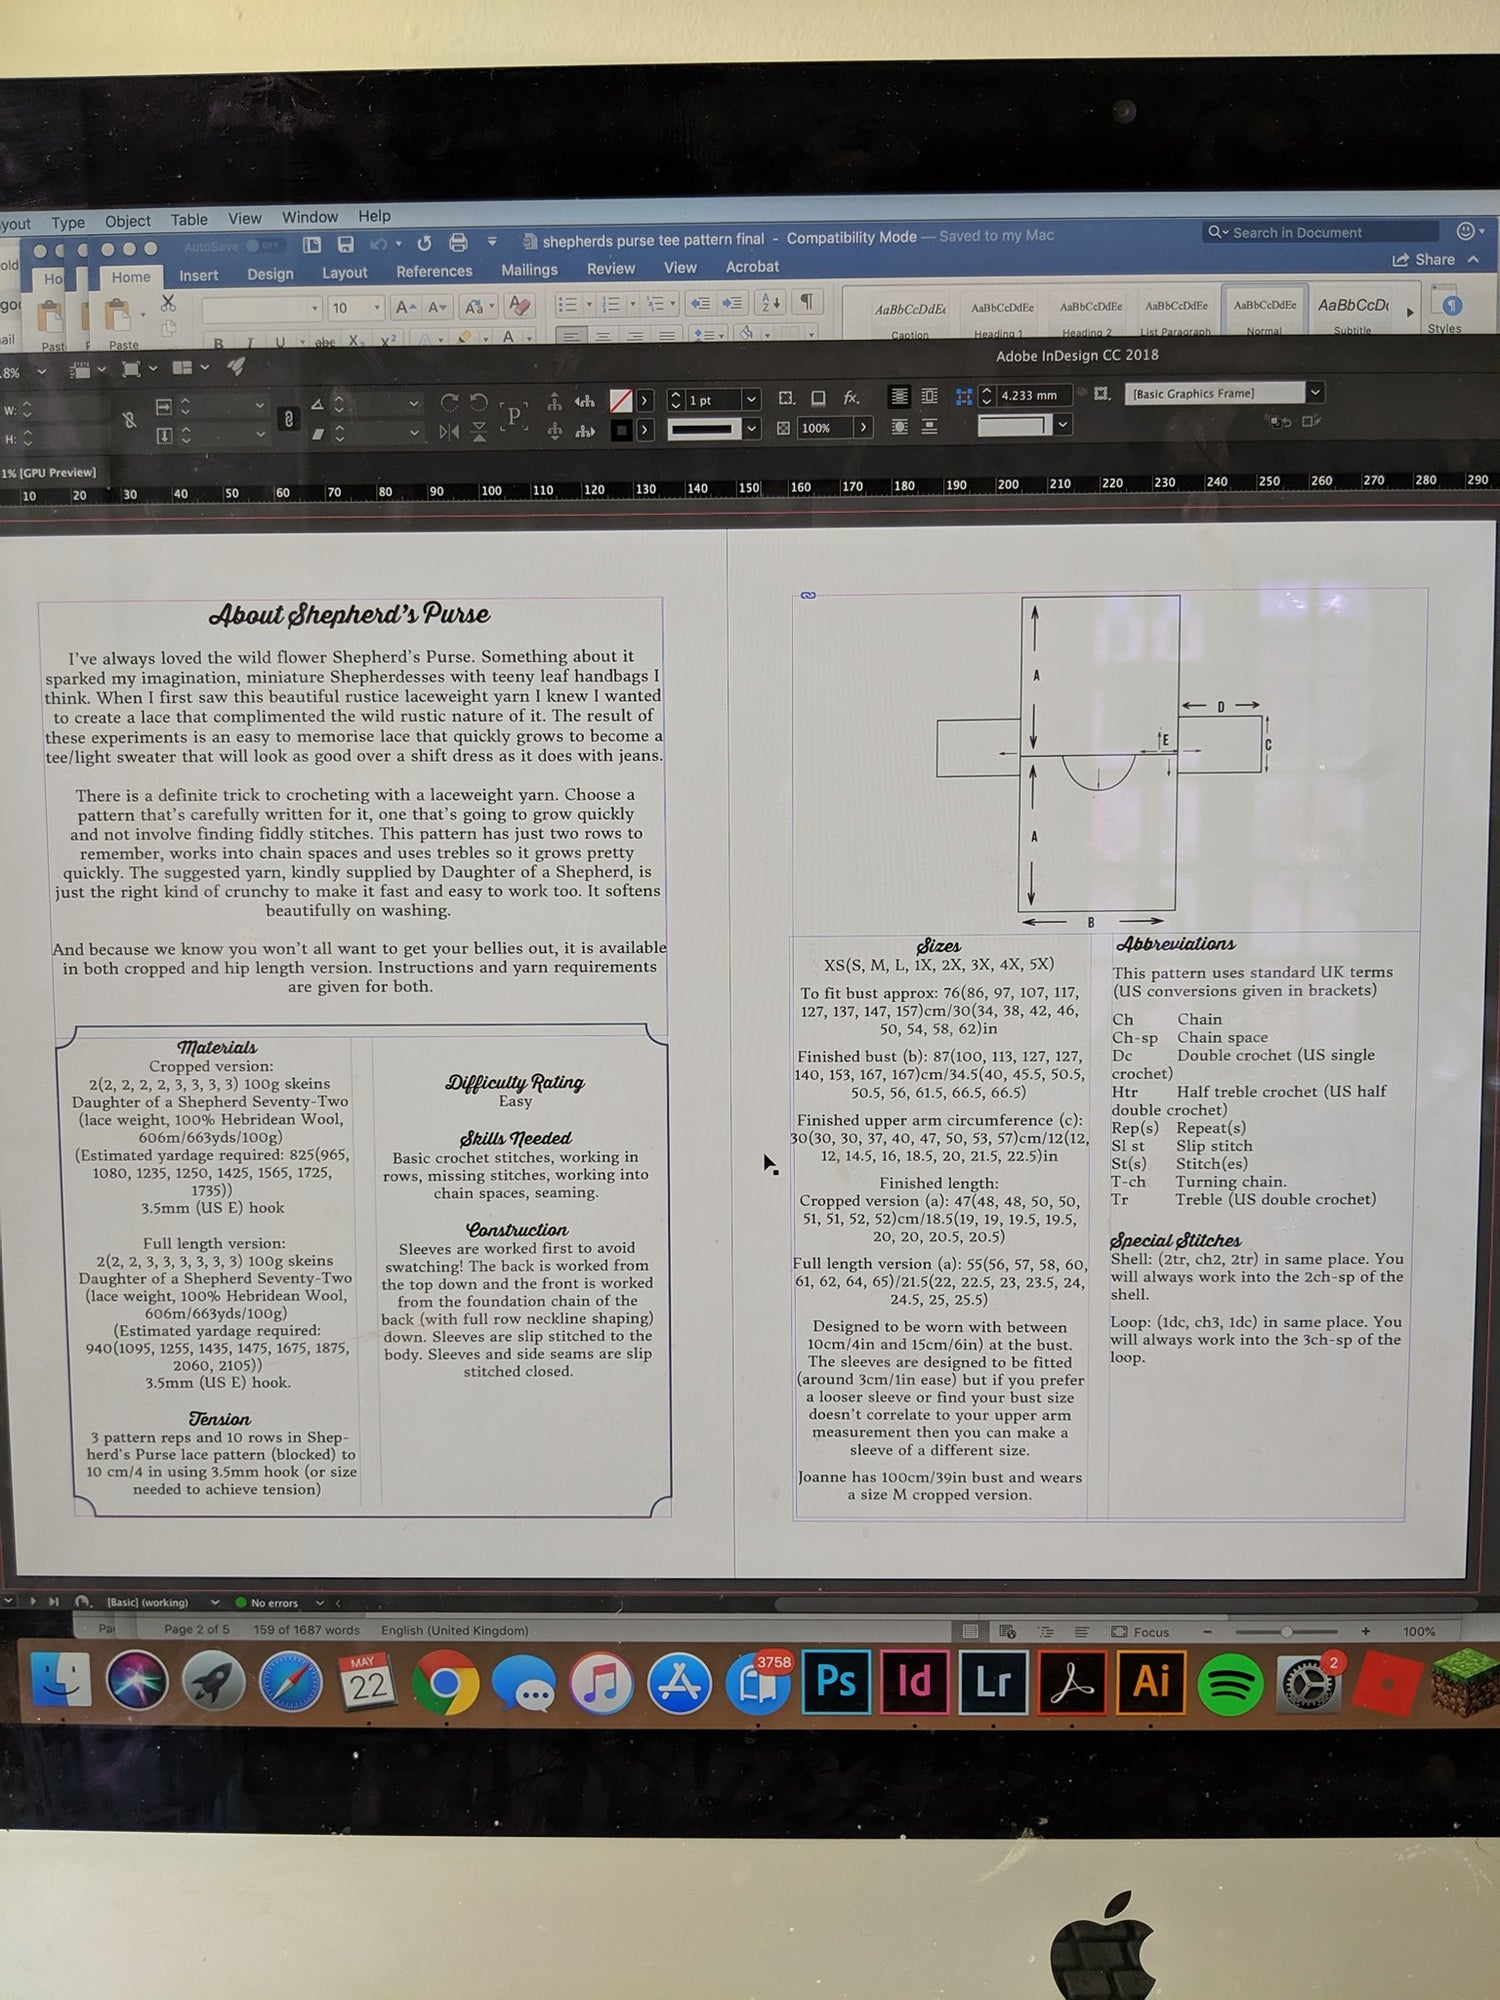
3/ Layout
Now that all of the various pieces of the puzzle are done, I can finalise the layout. We use InDesign to layout our patterns. We have a template that we use, so this bit is easier than it used to be, but we always have to be mindful of how the pattern will work when it is printed and how accessible it is for people.

Its a delicate balance between fitting in the text in a readable way and ensuring that everything fits on the page. When this design was released we had two out puts - the PDF for download and the print file which gets sent to the printers. We now create a third file which is an accessible one that works well if you are using your pattern on a tablet but is also large print making it easier for those with reduced vision.
Indesign is a really powerful program with quite a learning curve. I found it really intimidating when I first opened it. To layout patterns though you are really only using a small subset of the functionality though and I mastered what I needed to do quickly using the class that Kat teaches!
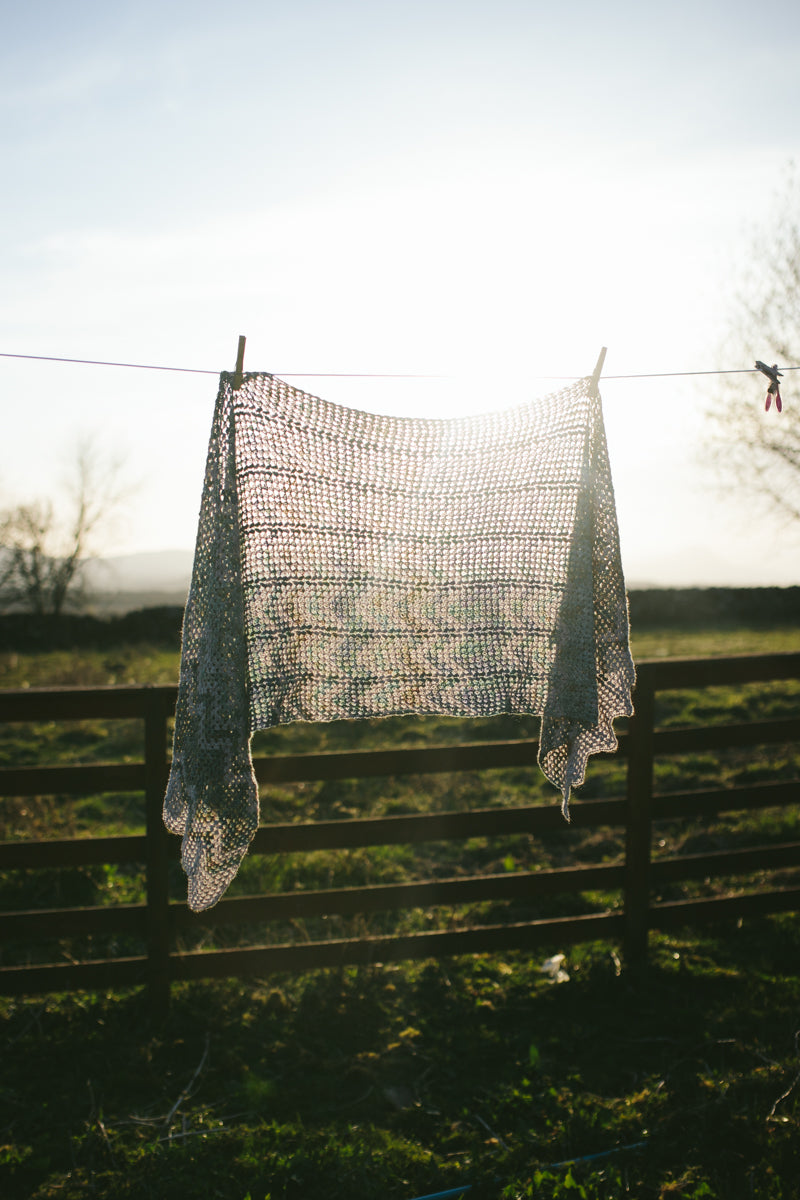
And the finished pattern is now available to buy:
Other than the editing (which must be done by a professional not you just checking your own work), these are all processes that you can either hire out to professionals or learn to do yourself. As its quite hard to make money from a pattern, I've always found it more cost effective to learn to do these things myself. You also retain a level of control that you couldn't otherwise have. For example if a small error crops up in a chart in your pattern you would need to contact your charting person and ask them to fix it and pay again for their time then contact your layout person and ask them to send you a new version and pay again for their time. If you know how to do these things yourself then you can quickly upload a revised version.
If you would like to learn how to do all of these things yourself then you may be interested in our online classes for professionals. Given that each costs less than a couple of hours of a professionals time they are very cost effective:
Leave a comment
All comments are moderated before being published.
This site is protected by reCAPTCHA and the Google Privacy Policy and Terms of Service apply.